

A thoughtful pre-listing plan can help a Mccrory home reach the market with stronger photos, cleaner presentation, and fewer last-minute surprises. This checklist walks through the practical tasks that matter most, from repairs and paperwork to pricing preparation and showing readiness. If you want a smoother listing experience, a little work before the sign goes up can make a noticeable difference.
Start With Condition, Maintenance, and First Impressions
Before your home is listed, the goal is simple: make it easier for buyers to understand the property’s value the moment they see it online and in person. That does not mean every seller needs a full remodel. In many cases, the most effective work happens in the basics—cleaning thoroughly, finishing deferred maintenance, and removing distractions that pull attention away from the layout, light, and overall condition of the home.

Walk your property as if you were seeing it for the first time. Look for peeling paint, loose handrails, burned-out bulbs, dripping faucets, sticking doors, and cracked switch plates. Small issues can signal bigger maintenance concerns in a buyer’s mind, even when the home is otherwise solid. Outside, trim overgrowth, clear walkways, pressure wash where needed, and make sure the entrance feels neat and cared for.
Inside, focus on surfaces and flow. Deep-clean floors, baseboards, windows, counters, and bathrooms. If a room feels crowded, remove extra furniture so the scale of the space shows more clearly. Closets also matter. Buyers often open them, and a partially emptied closet usually looks more spacious than one packed to the top.
The most cost-effective pre-listing updates are often the least glamorous: paint touch-ups, light fixture replacement, hardware tightening, and a serious deep clean can improve presentation without major renovation costs.
Neutral presentation usually helps a broader range of buyers picture the home accurately. That may mean simplifying decor, putting away highly personal collections, and limiting bold colors in key rooms. The point is not to erase character, but to make the home easier to read in listing photos and easier to walk through during showings.
Gather Documents Before the Listing Goes Live
A well-prepared seller is not just cleaning and painting. Documentation also matters, especially once interest starts building. Pull together records for major updates such as roof work, HVAC replacement, water heater installation, appliance purchases, foundation repairs, or electrical and plumbing improvements. If you have warranties, permits, surveys, or utility information, keep them in one place so they are easy to access when questions come up.
It also helps to make a note of what will stay with the property. Be clear about appliances, mounted televisions, storage buildings, curtains, security equipment, and any other items that a buyer might assume are included. Sorting that out early reduces confusion later, particularly once an offer is on the table.
For homeowners in rural or small-town markets, land details can be especially important. If your property includes additional acreage, outbuildings, fencing, or specialized features, it is worth organizing the facts ahead of time. A clean, accurate description supports better marketing and helps buyers evaluate the property with confidence.
Ask about preparing your home for market
Think Through Pricing Support and Photo Readiness
Listing preparation is not only about the house itself. It is also about how the home will compete once it appears beside other available properties. Pricing strategy works best when the home’s condition, updates, and presentation are clear from the start. If you wait until photos are scheduled to decide what to repair or remove, you may end up delaying the launch or going live with weaker marketing than the property deserves.
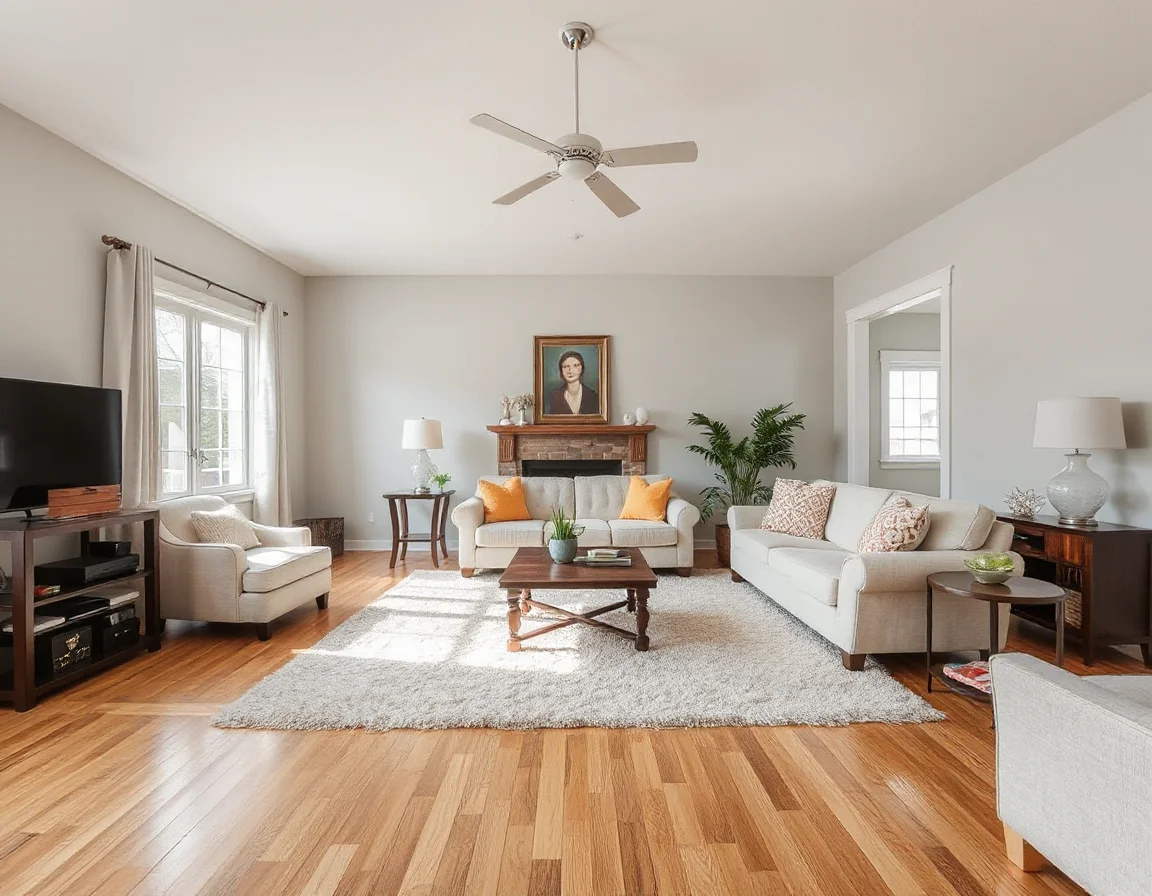
Photo readiness deserves special attention. Cameras highlight what daily life can hide: cords, countertop clutter, mismatched storage bins, bath products, pet items, and oversized furniture. Open blinds, replace dim bulbs with matching warm lighting, and clear surfaces as much as possible. Kitchens and bathrooms usually benefit from the simplest styling—less on the counters, fresh towels, and a clean, bright look.
Pay attention to exterior photos too. Move vehicles from the driveway, put away trash containers, hide hoses, and straighten outdoor furniture. If the yard needs mowing or edging, schedule it right before photography when possible. Seasonal timing can also affect curb appeal, so it helps to plan ahead rather than rush.
Homes often photograph smaller when rooms are full, darker when window coverings stay closed, and busier when everyday items remain out. Preparing specifically for photography can improve a listing before the first showing is ever scheduled.
Pricing conversations become easier when the home is presented at its best. Buyers compare condition, style, lot use, and visible updates quickly. A property that looks organized and move-in ready in photos may create stronger early interest than one with similar square footage but less preparation.
Create a Showing Plan That Works in Real Life
Once the listing is active, convenience matters. Think in advance about how you will handle showings, notice periods, pets, work schedules, and daily routines. A clean plan reduces stress and helps keep the home consistently ready. That might include laundry baskets for quick pickup, a cabinet for countertop items, and a short checklist for leaving the house before appointments.
If you are still living in the property during the sale, focus on systems rather than perfection. Make beds each morning, wipe kitchen counters nightly, keep floors clear, and store personal paperwork securely. A showing-ready home does not need to feel staged every second of the day, but it should be easy to reset quickly.
Odors and sound can also shape first impressions. Empty trash regularly, address pet-related smells, and keep music or television off during appointments. Comfortable temperature, good lighting, and a calm atmosphere help buyers move through the home without distraction.
Get a home value starting point
Do One Final Walkthrough Before You List
Right before the home goes live, do one more complete pass inside and out. Stand at the curb. Walk to the front door. Open major room doors. Check mirrors, windows, flooring, and kitchen surfaces. Then review the practical items: smoke detectors, light bulbs, visible leaks, loose handles, and exterior cleanup. The final walkthrough is where overlooked details usually show up.

This is also the right time to double-check safety and access. Replace missing handrail caps, secure steps, clear trip hazards, and label keys if needed. If there is a gate, detached garage, workshop, or storage area that buyers should be able to see, make sure access is straightforward. The easier the property is to show, the easier it is for buyers to take in its full value.
For many sellers, the most important part of the checklist is simply starting early. Spacing out repairs, cleaning, and document gathering over a few weeks often feels much more manageable than trying to do everything at once. It also gives you room to make smart decisions instead of rushed ones.
When your home reaches the market looking polished, accurate, and well-organized, every step after that tends to feel smoother. Better photos, easier showings, and clearer answers to buyer questions all begin with thoughtful preparation. In Mccrory, a strong listing launch starts long before the listing date—and a practical checklist is one of the best tools a seller can have.